Over the winter I started working on an Intel 8080 emulator which later turned into an Altair 8800 emulator running on atmega328, complete with a hardware front panel. The Altair 8800 is coincidentally celebrating 40 years this year!
An example of booting CP/M 2.2 on the finished emulator. The CPU is first set to jump to 0xff00 where the disk bootloader ROM is located. Then I single step a few instructions and then hit the RUN switch.
Description
After completing the Intel 8080 emulator I got interested in the hardware part of the Altair 8800. The front panel consists of a bunch of LEDs showing the status, the data bus and the address bus. There are 16 simple switches acting as address, data and sense input (8 of the switches can be read by the CPU with port IO on port 0xff), as well as some momentary spring loaded switches that controls examine/deposit etc.
The original Altair 8800 has additional features on the front panel which I considered unnecessary for my clone (protect/unprotect memory etc.)
The MCU running the emulator is currently an atmega328 (Arduino Uno). I might change this in the future, but the ease of prototyping won this time.
Construction
The first revision of the panel was a prototype created on perfboard which soon got way out of hand.
I’m not very good at perfboard layout and I soon painted myself into a corner when I needed to do some modifications due to hardware bugs.
I then decided to create a real schematic and PCB in KiCad and get it manufactured.
I was pretty happy with the results considering I hadn’t done any PCB design previously:
Resulting schematic in KiCad
Resulting PCB layout in KiCad
I placed an order from seeedstudio.com and a week later I had my PCBs.
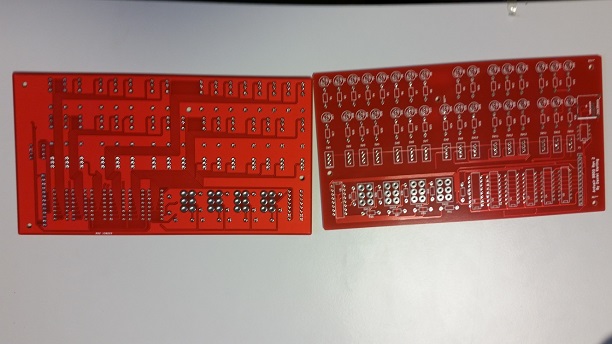
The PCBs as delivered from seeedstudio.com
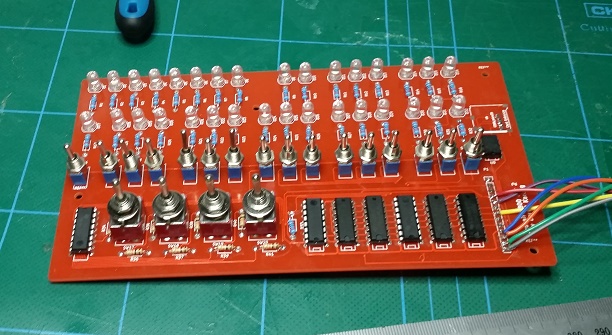
After a night of soldering I had the result shown in the first video
Components
The board consists of a lot of LEDs, resistors and switches which are controlled by shift registers (74HC165 for input from switches and 74HC565 for output to the LEDs.) The panel also has 23LC1024 SPI SRAM chip which is used for the Altair memory. The atmega328 does not have enough internal RAM to allow for 64K of memory.
An MicroSD holder is mounted on the panel for storage of ROM and diskette files. The current build does not have the MicroSD holder but instead a full size SD holder mounted by wire to the 13 pin connector.
Everything on the panel is attached to the SPI bus on the atmega328 and serial input/output from the Altair is done over the Arduino serial to USB.
The current code is fairly slow. A couple of times slower than the original Altair 8800. There is room for optimization or even a faster MCU.
Running
The code currently loads the file “88dskrom.bin” from the SD card and places it at 0xff00 in memory. This is a standard disk loader ROM using the 88-DCDD (Altair disk drive system).
The 88-DCDD reads and writes the files “disk1.bin” and “disk2.bin” from the SD card. Consequently, CP/M 2.2 can be booted by adding it as “disk1.bin” on the SD card and then starting execution from 0xff00.
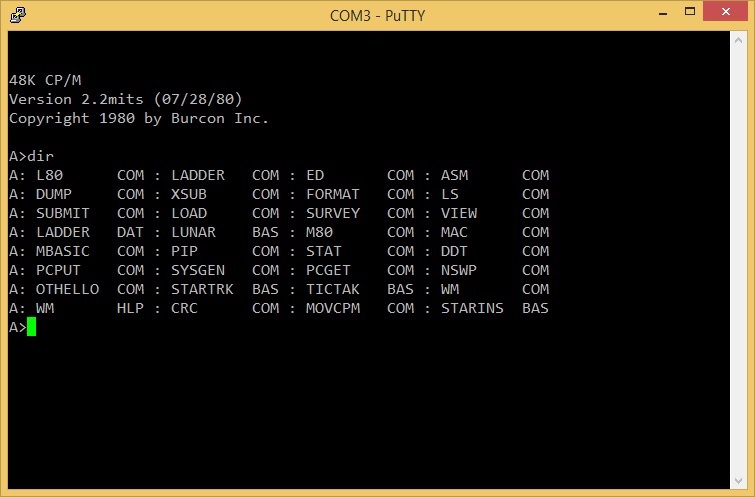
Running CP/M 2.2
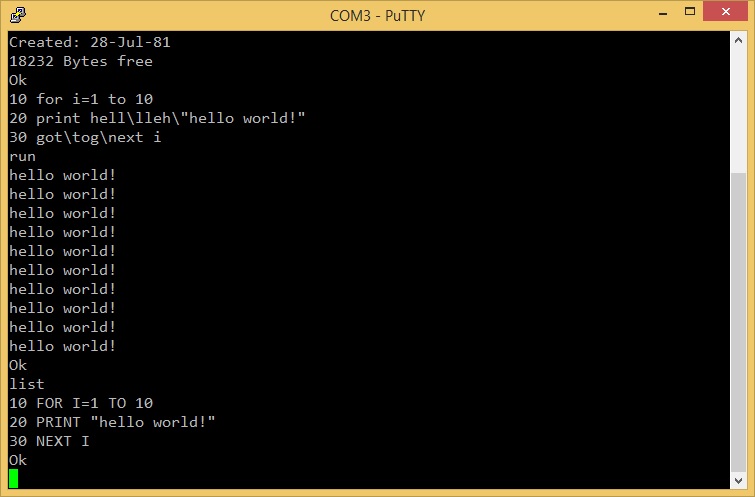
Running MBASIC, a version of BASIC that is nice enough to not be case sensitive!
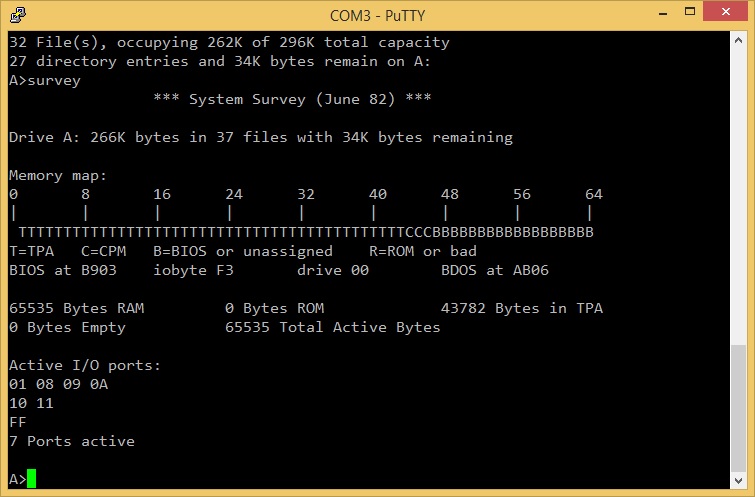
Running the system survey command.
Code and schematics
All of the code and the PCB schematics is available at Github.

